Growing potatoes isn’t just a fun gardening project—it’s one of the most satisfying crops to harvest when done right. But here’s the truth most beginners miss: it’s not just about digging a hole and dropping in a potato. The real success comes from smart preparation.
By sprouting, cutting, and even enhancing your soil with natural amendments like wood ash, you give your potatoes a powerful head start that can result in a 15% higher yield. Ready to grow stronger, more productive potato plants? Let’s dig into the proven method.
📅 Step 1: Know the Right Time to Plant
When should you plant potatoes?
About 2 weeks after the last frost in your area. The soil should be at least 7°C (45°F) for healthy growth to begin.
In most temperate climates, that falls in March or April. But don’t wait until planting day—start prepping your seed potatoes a month in advance to let them sprout and strengthen.
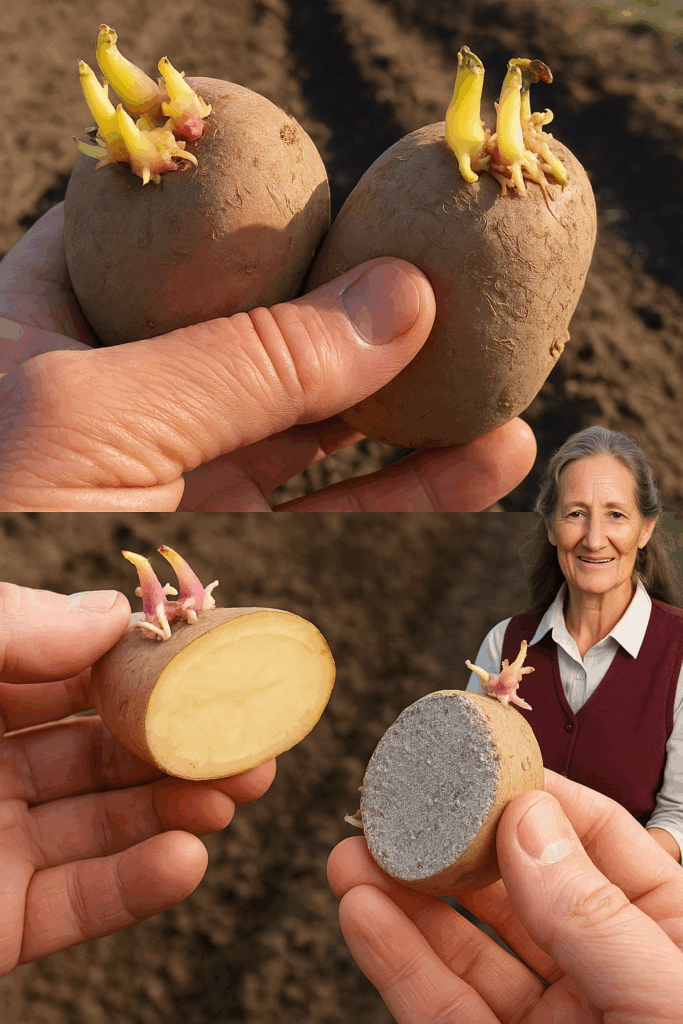
🌱 Step 2: Sprout Your Seed Potatoes (Chitting)
“Chitting” means pre-sprouting your potatoes before putting them in the ground. This jump-starts growth and gives them a major advantage once planted.
Here’s how:
- Choose seed potatoes, not grocery store ones (which may be treated to prevent sprouting).
- Place in a dark space, around 21°C (70°F)—a box or paper bag works well.
- Within 7–10 days, sprouts will begin forming.
- Then move them to a cooler, light area (around 10°C or 50°F) to slow the growth and firm up the shoots.
- Once sprouts are 3–5 cm long (1–2 inches), they’re ready for planting.
💡 If planting is delayed, reduce the temperature to keep the sprouts from growing too long and weak.
🔪 Step 3: Cut Larger Potatoes for More Plants
If a seed potato has multiple healthy sprouts, you can cut it to make more plants.
- Use a clean knife to divide it into chunks, making sure each piece has at least one sprout.
- Let the cut sides dry and heal for 2–3 days to prevent rot.
- Optional but powerful: Dust the cut surfaces with wood ash. This natural technique protects the cut from disease and adds nutrients.
🔥 Step 4: Why Wood Ash Can Supercharge Your Soil
Yes, wood ash—the same stuff left in your fireplace—can be an excellent soil amendment for potatoes.
Benefits of wood ash:
- Potassium boost: Encourages healthy tuber formation.
- Calcium: Strengthens plant cells.
- Balances pH: If your soil is too acidic, wood ash can help neutralize it.
- Pest repellent: Deters insects like beetles that often target potato plants.
How to use it:
- Mix into soil: Use 1 kg (2.2 lbs) of wood ash for every 25 kg (55 lbs) of potatoes.
- Or dust cut seed potatoes directly before planting.
⚠️ Important: Don’t overuse ash—it can make the soil too alkaline. Always test your soil pH if you’re unsure.

🌿 Step 5: Time to Plant
Once your potatoes are sprouted, optionally cut, and treated with ash, it’s time to plant.
- Dig holes or trenches about 10–15 cm (4–6 inches) deep.
- Place potatoes sprout-side up, spaced 30 cm (12 inches) apart.
- Cover with soil and water thoroughly.
As the plants grow, continue to hill up soil around the base. This protects developing potatoes from sunlight and encourages more tuber growth.
💡 Why All This Preparation Matters
You could plant unsprouted potatoes into cold soil and still get a crop. But if you want:
- Faster sprouting
- Stronger root systems
- Better resistance to disease
- Larger, more uniform harvests
…then pre-sprouting, cutting, and enriching your soil with wood ash isn’t optional—it’s essential.
Studies and farmer experience show that these simple steps can increase your potato yield by up to 15%—and in many cases, even more.
👨🌾 Final Growing Tips
- Rotate your crops: Avoid planting potatoes in the same soil two years in a row to prevent disease build-up.
- Watch your watering: Too much water can cause rot; too little and the tubers won’t form properly. Water consistently, especially during flowering.
- Harvest timing: Once the plants flower and the leaves start to yellow and die back, your potatoes are ready.
🌟 Ready to Plant? Start Today.
Whether you’re growing in a backyard bed or large garden plot, potatoes reward preparation. Start your sprouting process today, dust off your wood ash, and give your plants the strong, nutrient-rich environment they need to thrive.
The better your start, the bigger your harvest.