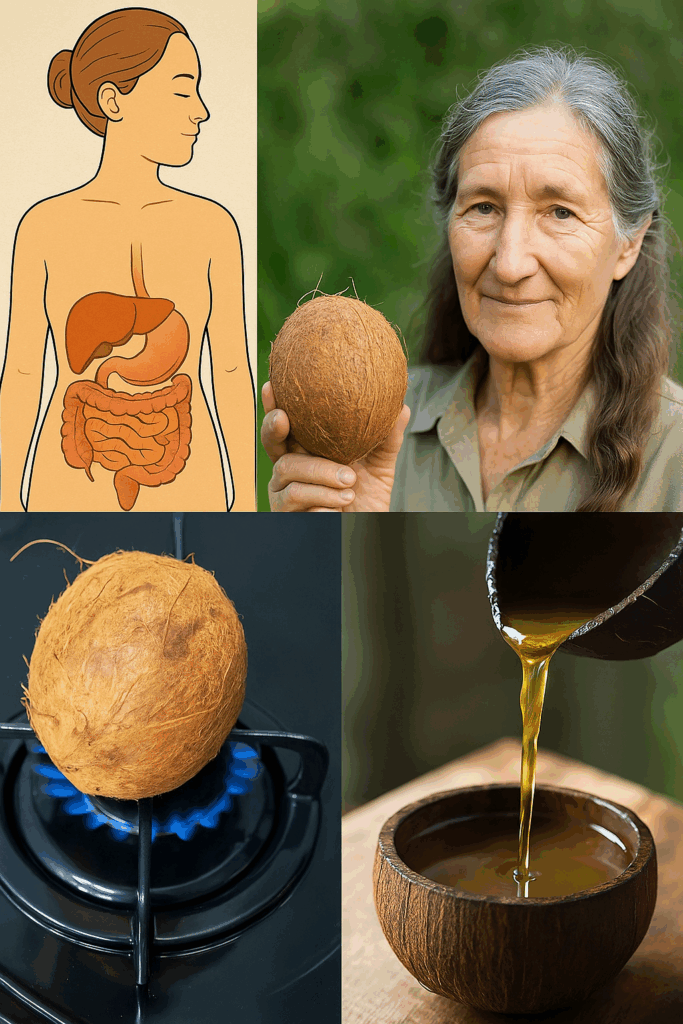
If you’ve ever wanted to take control of what goes into your skin, food, or hair treatments, making coconut oil at home is a great place to start. It’s surprisingly simple, incredibly rewarding, and delivers a purer product than many store-bought options. By using only mature coconuts and water, you can create clean, cold-pressed coconut oil that’s perfect for everything from cooking to natural skincare.
Here’s a clear, step-by-step guide to help you make your own coconut oil at home — no chemicals, no preservatives, just 100% natural goodness.
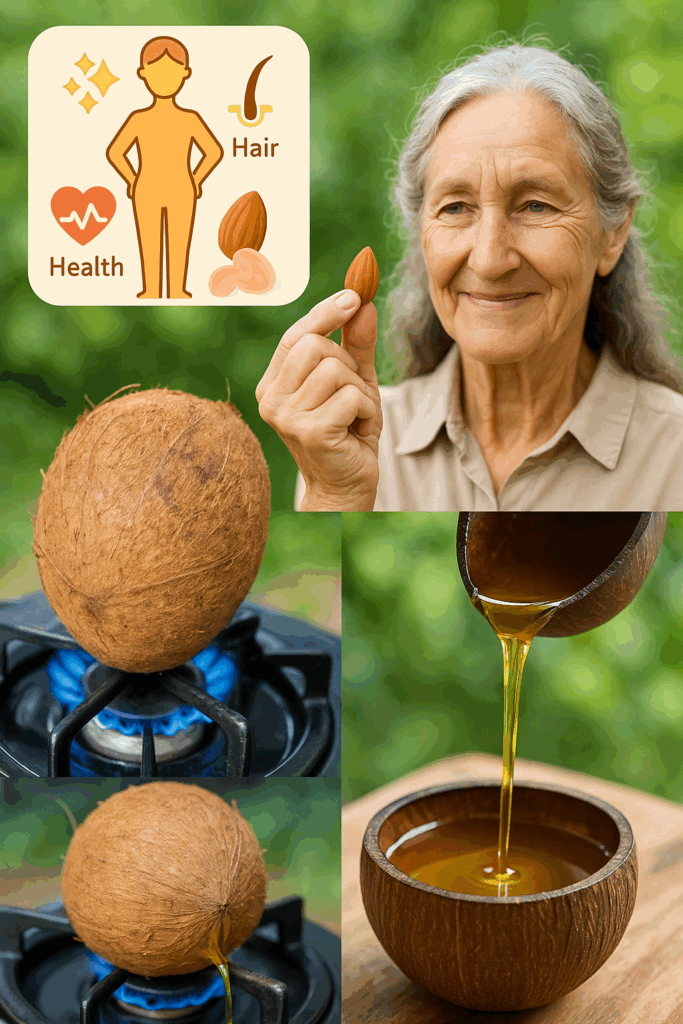
🥥 What You’ll Need
- 3 to 4 mature brown coconuts
- Clean water
- A strong blender or food processor
- Cheesecloth or fine mesh strainer
- A large mixing bowl
- A spoon or spatula
- A clean jar with a lid for storage
🔨 Step 1: Crack, Clean, and Prep the Coconut Meat
Start by breaking open your mature coconuts. Tap around the middle with the back of a heavy knife or hammer until the shell splits.
Drain the coconut water and save it for drinking or another use — it won’t be part of the oil.
Use a spoon, knife, or coconut scraper to carefully remove the white coconut meat from the hard shell. Rinse the meat under clean water to remove any leftover shell bits or husk.
⚙️ Step 2: Blend the Coconut into a Creamy Paste
Chop the coconut meat into small chunks so it blends more easily.
Place the chopped pieces into a blender with water — about 1 cup of water for every 2 cups of coconut meat. Blend thoroughly until you get a thick, smooth paste. You may need to scrape the sides down to ensure even blending.
🧺 Step 3: Extract the Coconut Milk
Line a large bowl with a cheesecloth or fine mesh strainer. Pour the blended coconut paste into the cloth.
Gather the edges of the cloth and squeeze tightly to extract the coconut milk. Press and twist to get every drop out — this liquid is what will eventually yield your coconut oil.
Set aside the dry coconut pulp for other uses like baking or composting.
🧊 Step 4: Let the Oil Naturally Separate
Allow the bowl of coconut milk to sit undisturbed at room temperature for 24 hours. Over time, the oil will begin to rise and a creamy, solid layer will form on top.
Once the cream solidifies, place the bowl in the refrigerator for a few hours to make it easier to scoop. The oil-rich cream will harden, and you can gently lift it out, leaving the watery layer behind.
Discard or reuse the leftover water.
🔥 Step 5: Heat the Cream to Release the Oil
Transfer the solidified cream to a saucepan or pot and place it over low heat.
Slowly melt the cream, stirring occasionally. As it cooks, the oil will begin to separate from the solids. Continue heating until the oil becomes clear and the solids settle and brown slightly.
Once done, strain the oil through a cheesecloth or fine sieve to remove any remaining bits.
🫙 Step 6: Cool and Store
Allow the oil to cool completely, then pour it into a clean glass jar or bottle. Seal it tightly.
Store your homemade coconut oil in a cool, dry place. It will stay fresh for several months at room temperature, but refrigerating it can extend its shelf life even further.
🌿 Why Homemade Coconut Oil Is Better
✔ Pure and Unprocessed: Unlike commercial oils, your homemade version contains no bleaching agents, fragrances, or additives. Just pure coconut extract.
✔ Multi-Use Wonder: This oil is perfect for oil pulling, skin moisturizing, deep conditioning hair, and even as a natural makeup remover.
✔ Flavor-Packed for Cooking: Homemade coconut oil retains the rich, tropical aroma and flavor — ideal for stir-fries, curries, and baked goods.
✔ Chemical-Free Skincare: Use it as a base for DIY body butters, lip balms, or baby-safe massage oils without worrying about hidden ingredients.
✔ Economical and Sustainable: Making your own oil can be more cost-effective over time, especially if you live where coconuts are easily accessible. Plus, you cut down on packaging waste.
🌟 Bonus Tips for Better Results
- Use only fully mature coconuts — young green coconuts won’t yield enough oil.
- Avoid high heat when extracting oil to preserve nutrients.
- Save the dry coconut pulp — it can be used in granola, smoothies, or baking.
- Always ensure your tools are clean and dry to prevent contamination.
🥄 Easy Ways to Use Your Fresh Coconut Oil
- Stir into coffee or tea for an energy boost
- Rub into dry skin or elbows before bedtime
- Use as a post-shower body oil or hair serum
- Mix with sea salt for a natural exfoliating scrub
- Use a spoonful for sautéing vegetables or greasing baking pans
🍃 Final Thoughts: A Natural Essential Worth the Effort
Homemade coconut oil isn’t just a DIY project — it’s a small return to nature, offering you something cleaner, richer, and more nourishing than any store-bought version. Whether you use it for food, beauty, or medicine, coconut oil made with your own hands carries purity and intention that no label can match.
Try making your first batch this weekend — and once you experience the difference, there’s no going back.