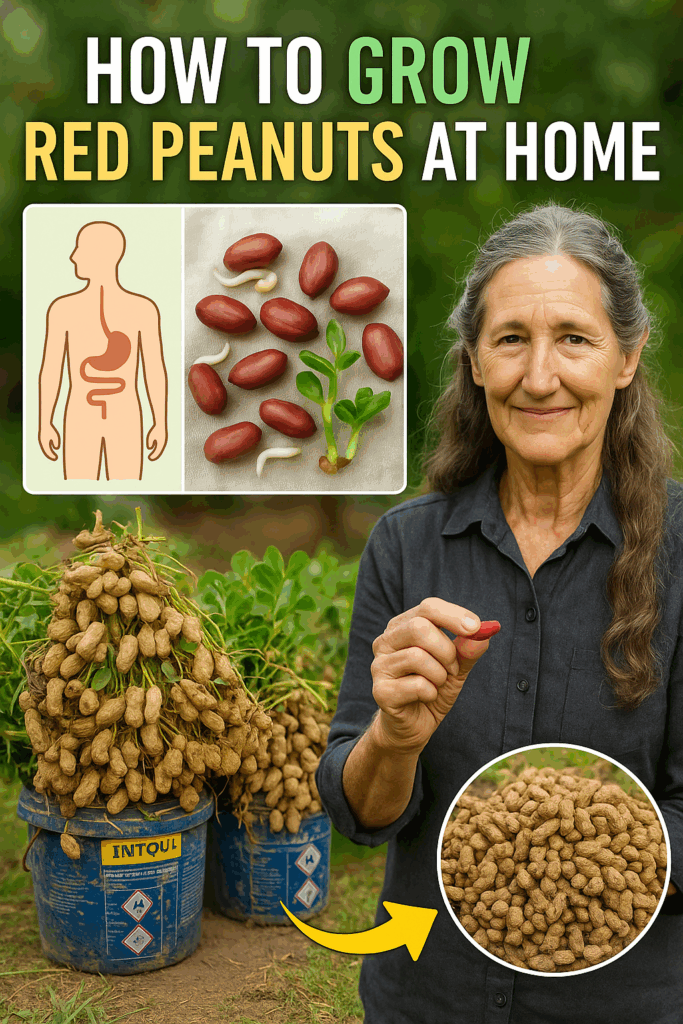
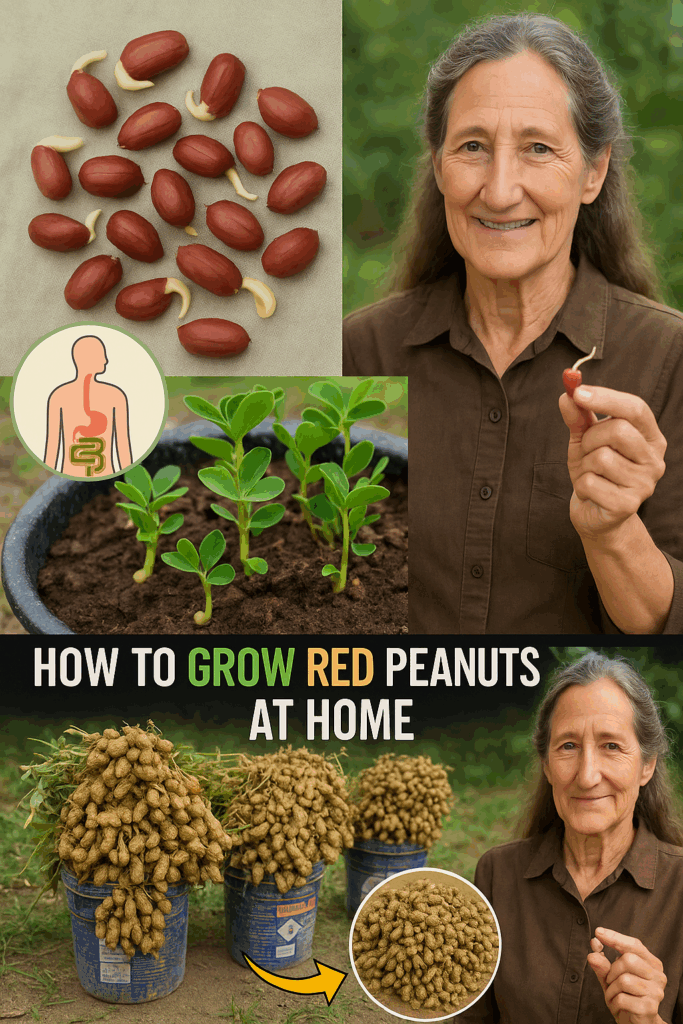
Yes, you can grow your own peanuts—even from raw store-bought ones! With a little preparation and the right growing conditions, peanuts can thrive in your backyard or garden. Here’s everything you need to know to go from shell to harvest.
🥜 Step 1: Choosing the Right Peanuts
✅ Use only raw, unsalted, and unroasted peanuts—ideally still in their shells.
❌ Avoid roasted or flavored peanuts; they won’t sprout.
Look for raw peanuts at health food stores, farmers’ markets, or online gardening suppliers.
🌱 Step 2: Preparing and Planting Peanuts
- Timing: Peanuts need 100–130 frost-free days, so start indoors 5–8 weeks before the last frost if you live in a cooler climate.
- Shell Removal: Gently crack open the shell and remove the whole seed without damaging the skin covering the nut.
- Soil: Use loose, sandy, well-draining soil. Enrich it with aged compost to improve fertility and structure.
How to Plant
- Sow seeds 1–2 inches deep.
- Space them 24–36 inches apart in rows that are 72 inches apart (peanut plants need room to spread).
- Plant in biodegradable pots indoors or sow directly outdoors after the danger of frost has passed.
☀️ Step 3: Choosing the Right Location and Soil
- Sunlight: Peanuts love full sun, needing at least 6–8 hours of direct sunlight daily.
- Soil pH: Aim for a slightly acidic to neutral pH (5.5 to 7.0).
- Protection: Use row covers if planting early outdoors to protect against spring frosts.
💧 Step 4: Watering and Plant Care
- Water consistently, aiming for at least 1 inch per week.
- Do not overwater; soggy soil can cause rot.
- Apply mulch once seedlings are about 6 inches tall to retain moisture and prevent weeds.
🌾 Step 5: Fertilizing for Pod Development
- Peanuts are nitrogen-fixing, so they don’t need high-nitrogen fertilizers.
- Focus on calcium, which is critical for healthy pod formation.
- Use a balanced or low-nitrogen fertilizer before planting (e.g., 5-10-10).
✂️ Step 6: Maintenance and Propagation
- Pruning: Not usually necessary unless for size control or removing damaged parts.
- Propagation: Save healthy, mature peanuts from your harvest for planting next season.
🧺 Step 7: Harvesting and Storing Peanuts
- When to Harvest: About 100–150 days after planting, once leaves yellow and wither.
- Gently pull up the entire plant and shake off the excess soil.
- Let plants dry in a warm, shaded area for a few days.
- Cure the peanuts (leave them on the plant) for another 1–2 weeks in a well-ventilated, dry area.
Storage Tips
- Store raw, cured peanuts in a mesh bag in a cool, dry place.
- For snacking, roast your homegrown peanuts in the oven at 350°F for 20–25 minutes.
🌿 Final Thoughts: Growing Peanuts Is Easier Than You Think
With patience, sunshine, and a bit of care, you can grow your own crunchy, protein-packed peanuts right at home. Whether for fun, food, or a deeper connection to your garden, this rewarding crop is an excellent addition to your growing adventures.