If you’ve ever scanned the label of store-bought coconut oil and wondered what’s really inside, you’re not alone. Many commercial coconut oils go through heavy processing, stripping away their natural aroma and beneficial compounds. But what if you could make your own high-quality coconut oil at home—pure, fresh, and full of nutrients?
Good news: You can. And it’s easier than you think.
In this guide, you’ll discover the simplest way to create cold-pressed coconut oil right in your kitchen using just a few coconuts and common tools. No preservatives, no artificial ingredients—just the real thing.
Why Choose Homemade Coconut Oil? 🧴
- 100% natural and chemical-free
- Rich in lauric acid, known for its antibacterial and antiviral properties
- Safe for cooking, moisturizing skin, nourishing hair, and more
- Longer-lasting aroma and freshness compared to refined oils
Let’s dive into the step-by-step process to extract clean, unrefined coconut oil that’s bursting with natural benefits.
🥥 What You’ll Need:
- 3–4 mature brown coconuts
- Water
- Blender or food processor
- Cheesecloth or fine mesh strainer
- Mixing bowls
- Spoon or spatula
- Non-stick pan
- Airtight glass jar or container
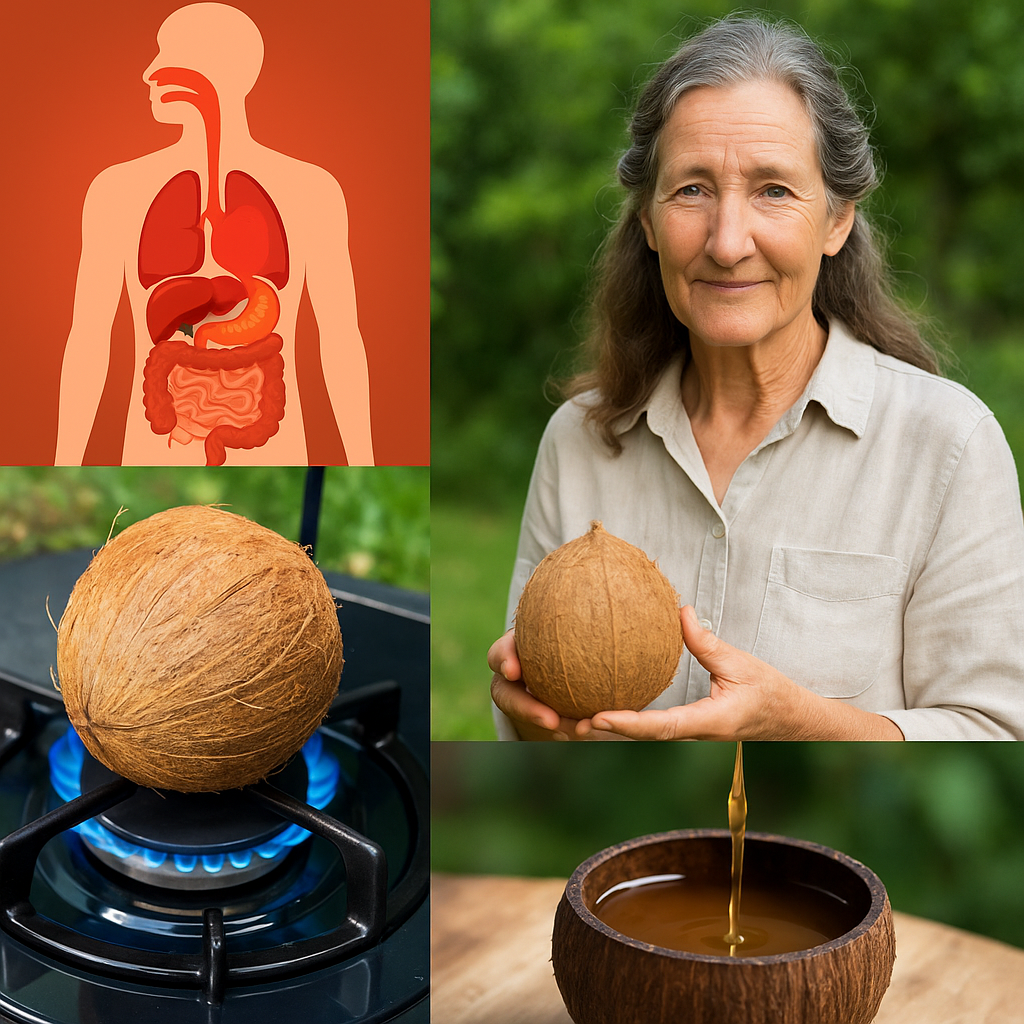
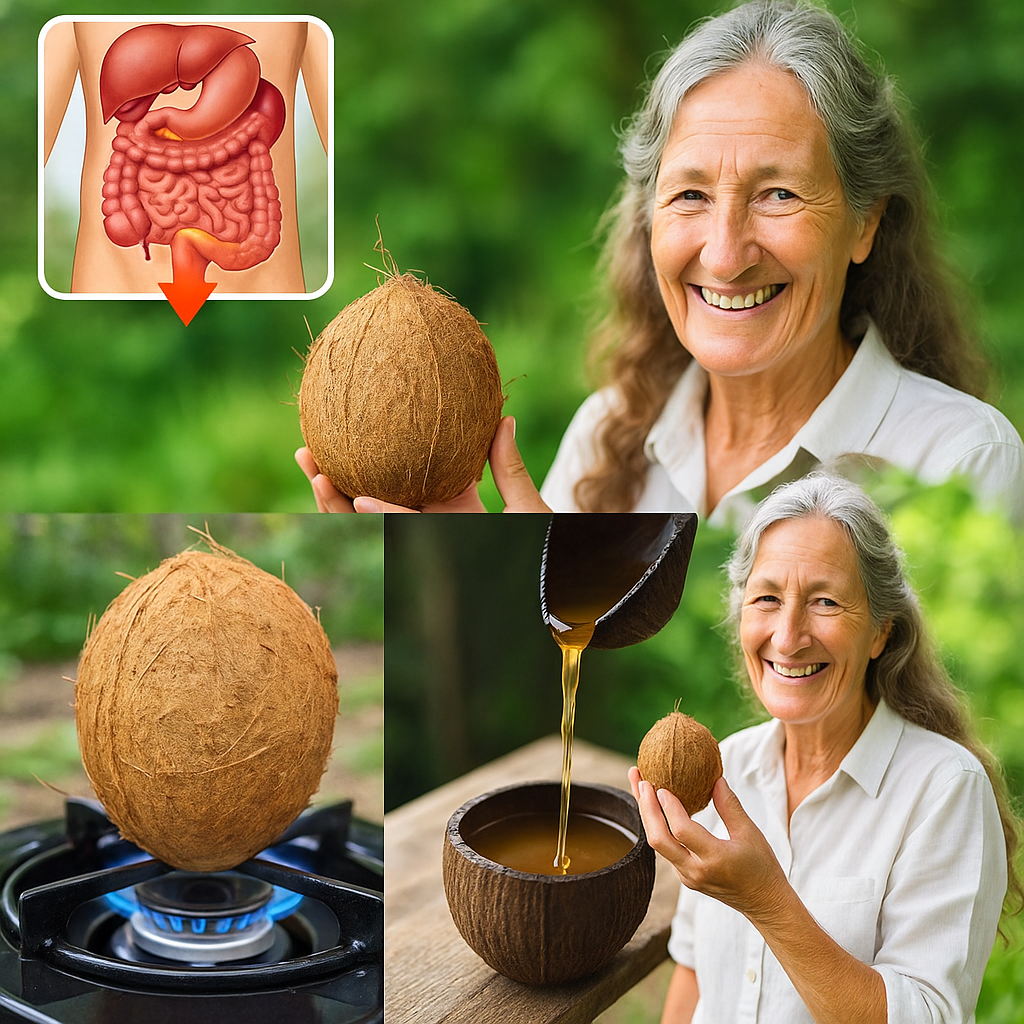
Step 1: Crack and Collect 🔨
Begin by cracking open your mature coconuts. You can use a hammer or the back of a cleaver. Pour the coconut water into a jar—it’s great for drinking or adding to smoothies.
Use a knife or coconut scraper to separate the white meat from the shell. Rinse the coconut meat to remove any shell bits or husk fibers.
Step 2: Blend Into Coconut Milk 🍶
Chop the coconut meat into small pieces. Add it to your blender along with water (approximately 2 parts coconut meat to 1 part water).
Blend until you get a thick, creamy mixture—similar to a smoothie in consistency. This is your fresh coconut milk, the foundation for your oil.
Step 3: Strain and Squeeze 🧃
Line a bowl with a cheesecloth or place a fine mesh strainer over it. Pour the blended coconut paste in, and squeeze out every drop of coconut milk. The more milk you extract now, the more oil you’ll yield later.
Repeat the blending and squeezing process if needed to get the most out of your coconut meat.
Step 4: Let It Sit and Separate ⏳
Allow the extracted coconut milk to sit undisturbed in a bowl at room temperature for 24 hours. During this time, the cream will naturally rise to the top.
Once the cream layer forms, refrigerate the bowl for a few hours. This helps solidify the cream, making it easier to separate from the water.
Step 5: Extract the Oil with Gentle Heat 🔥
Scoop out the hardened cream and place it into a pan over low heat. Stir occasionally. As it heats, the cream will melt and begin releasing its oil.
Continue cooking slowly until all moisture evaporates and you’re left with golden, clear coconut oil. Don’t rush this step—gentle heat preserves the oil’s quality.
Use a strainer or cheesecloth to filter out any solids. What you now have is pure, homemade coconut oil.
Step 6: Cool and Store Properly 🧊
Let the oil cool down completely. Pour it into a sterilized glass jar or container with a tight lid.
Store in a cool, dry place away from direct sunlight. While it doesn’t require refrigeration, keeping it in the fridge can extend its shelf life and help retain its fresh scent and flavor.
🌿 The Natural Benefits of Homemade Coconut Oil
1. Skin Savior
Rich in medium-chain fatty acids, it locks in moisture and soothes irritation, making it perfect for dry skin, eczema, and stretch marks.
2. Hair Nourishment
Use it as a deep conditioning mask or scalp treatment. It penetrates the hair shaft to repair and strengthen from within.
3. Cooking Upgrade
With a high smoke point and subtle coconut aroma, it’s perfect for frying, baking, or drizzling over vegetables and grains.
4. Immune Support
Lauric acid in coconut oil has antimicrobial properties that may support your immune system when consumed regularly.
5. Weight Management
Medium-chain triglycerides (MCTs) in coconut oil may help support metabolism and satiety when included in a balanced diet.
A Cleaner Choice for You and the Planet 🌎
By making your own coconut oil, you’re not only getting a cleaner, safer product—you’re also helping the environment. No plastic packaging, no shipping emissions, no hidden ingredients.
It’s a small act of self-reliance that leads to big benefits for your body, wallet, and planet.
Final Thoughts 🌺
Homemade coconut oil isn’t just a DIY project—it’s a return to tradition. With just a few coconuts and a little patience, you can create an all-natural, multipurpose oil that’s better for your health and your home.
Once you try it, you’ll never go back to store-bought again.